
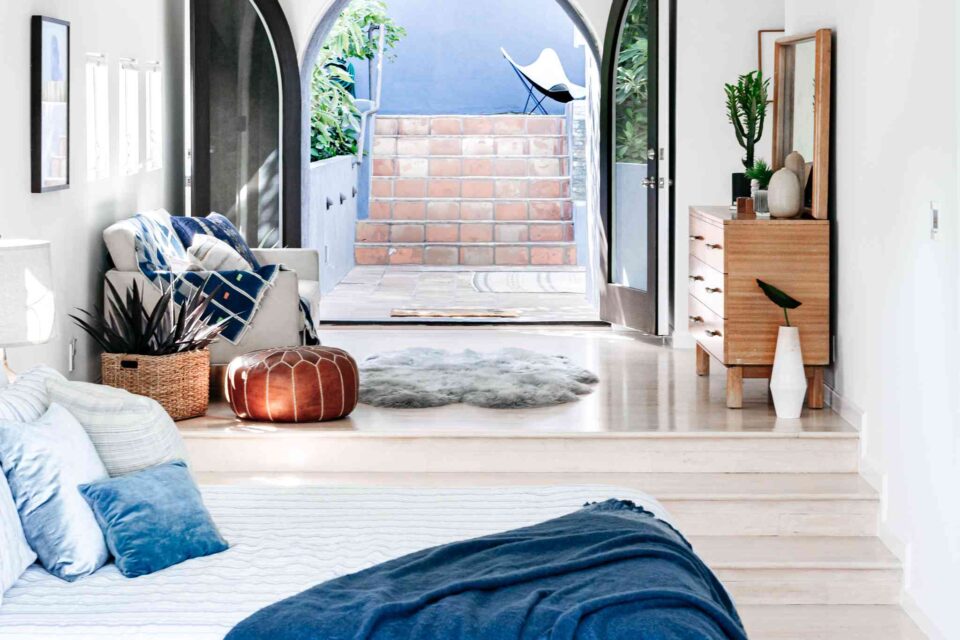
In a very small studio apartment layout, the most effective strategy is to divide the space into distinct zones—sleeping, living, and working—using furniture placement, area rugs, and lighting rather than physical walls. The bed is usually the largest piece of furniture; position it against a wall or in a corner to free up floor space, and use the remaining area for a small sofa or loveseat facing a TV or window.
Studios under 400 square feet demand intentional design. Every piece of furniture should earn its place, and vertical space – walls, ceiling height – becomes as important as floor area.
Zoning a Studio: The Core Principle
Without walls, zones are created visually and physically:
- Area rugs – a rug under the bed defines the sleeping zone; a rug under the sofa and coffee table defines the living zone
- Furniture backs – turning a sofa to face away from the bed creates a soft divider
- Lighting – a pendant or floor lamp in each zone signals ‘this is a different area’
- Curtains or room dividers – can provide actual privacy if needed (especially for sleeping)
Layout Options by Room Shape
| Room Shape | Recommended Layout |
| Square studio | Bed in corner, sofa at 90°, desk along third wall |
| Long / rectangular | Sleeping zone at far end, living zone near windows/entry, desk between them |
| L-shaped or alcove | Use alcove for sleeping (hang curtains for privacy), main room for living |
| Open plan with kitchen | Sofa as the divider between kitchen and sleeping area, island or bar cart as buffer |
Furniture Picks for Very Small Studios
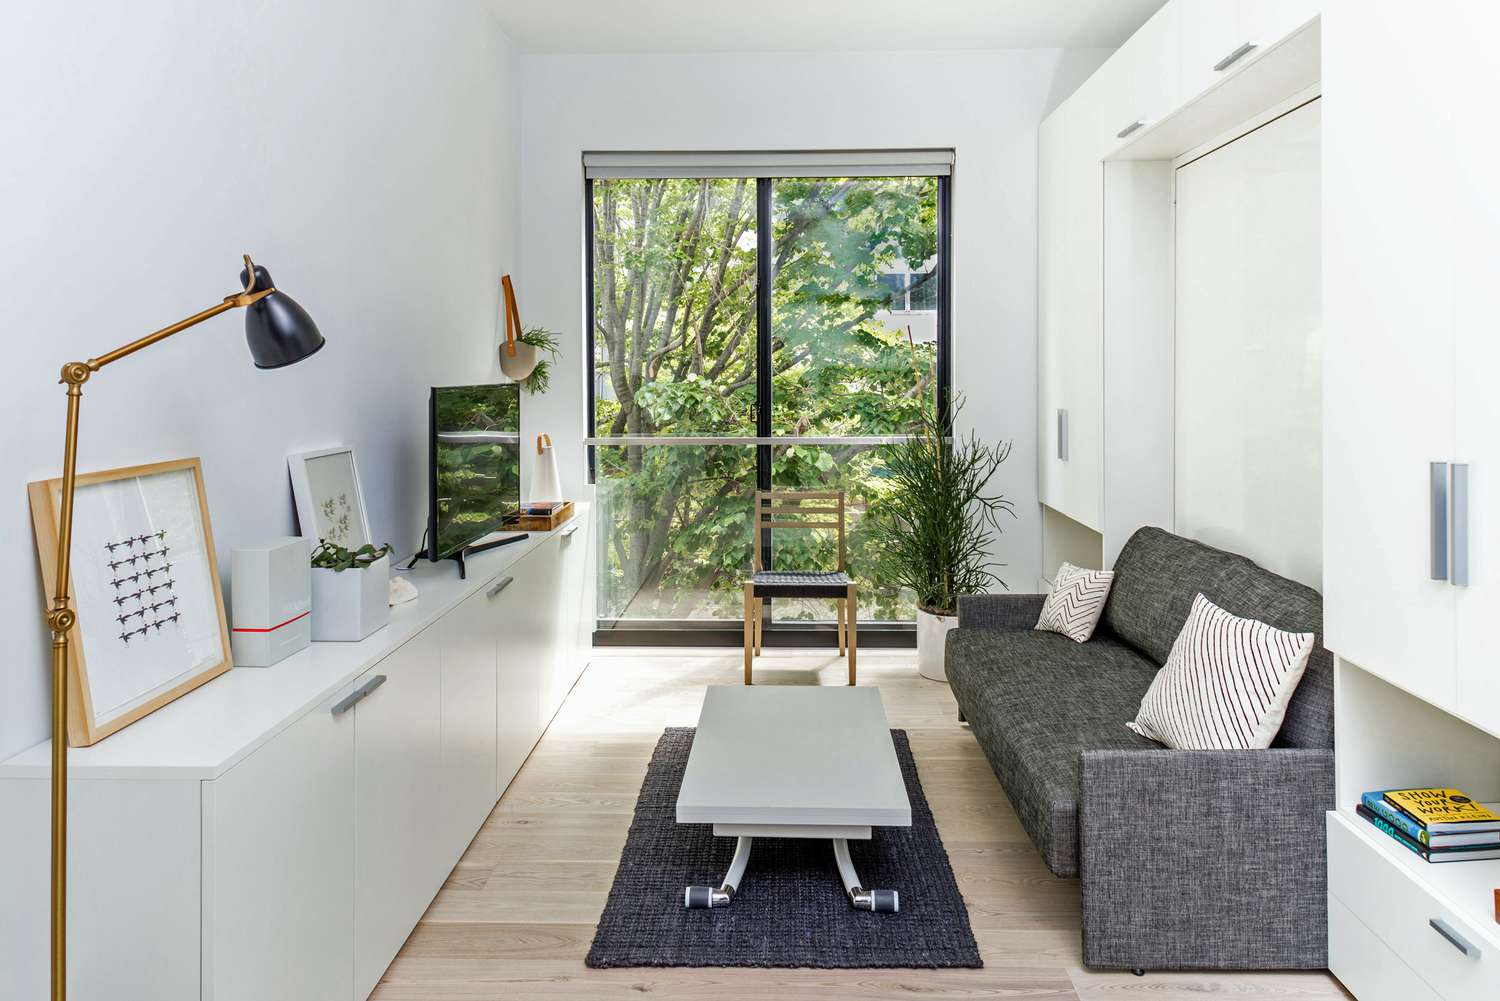
- Murphy bed / wall bed – folds away completely, transforms the sleeping area into a living or working space during the day
- Sofa bed or daybed – doubles as seating and sleeping, useful if you want guests to stay over
- Loft bed – raises the sleeping area to create usable floor space underneath (for a desk, storage, or seating)
- Nesting tables – replace a fixed coffee table with stackable tables that tuck away
- Ottomans with storage – seating, storage, and occasional surface in one
- Floating shelves – add storage vertically without using any floor space
Maximizing Storage
| Storage Challenge | Solution |
| Clothes / wardrobe | Wardrobe with doors (not open rack), under-bed storage boxes |
| Kitchen clutter | Magnetic knife strip, wall-mounted shelves, pot rack |
| Shoes | Over-the-door shoe organizer or slim entryway shoe bench |
| Books / media | Floor-to-ceiling shelving on one wall – doubles as room divider |
| Office supplies | Fold-down wall desk with built-in storage |
Visual Tricks to Make a Studio Feel Larger
- Keep the color palette light and consistent throughout – one color family on walls, floors, and large furniture
- Hang curtains from ceiling height to floor – even if the window is small, this draws the eye upward
- Use mirrors strategically – a large mirror on one wall can visually double the perceived size
- Choose furniture with legs – visible floor beneath furniture makes rooms feel more open
- Declutter ruthlessly – in a studio, clutter has nowhere to hide
Final Thoughts
The best small studio layouts are intentional and multi-functional. Zone the space clearly, choose furniture that earns its place (ideally doing double duty), and work vertically. A studio that feels cramped usually has too much furniture – removing one or two pieces often opens up the entire space. Start with the bed placement, build outward from there, and let each zone breathe.